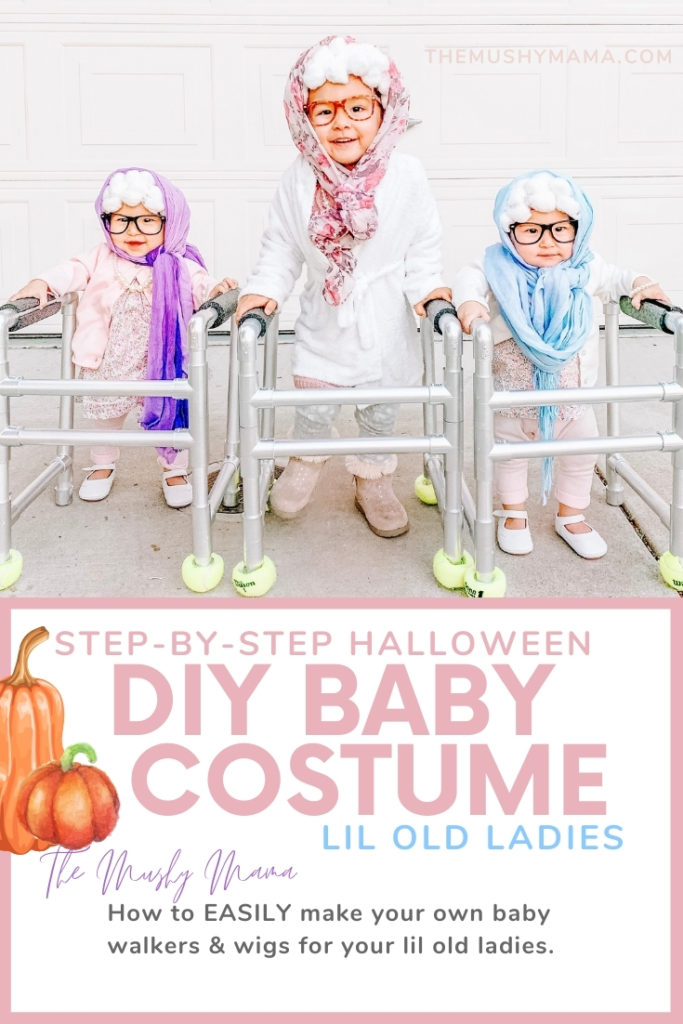
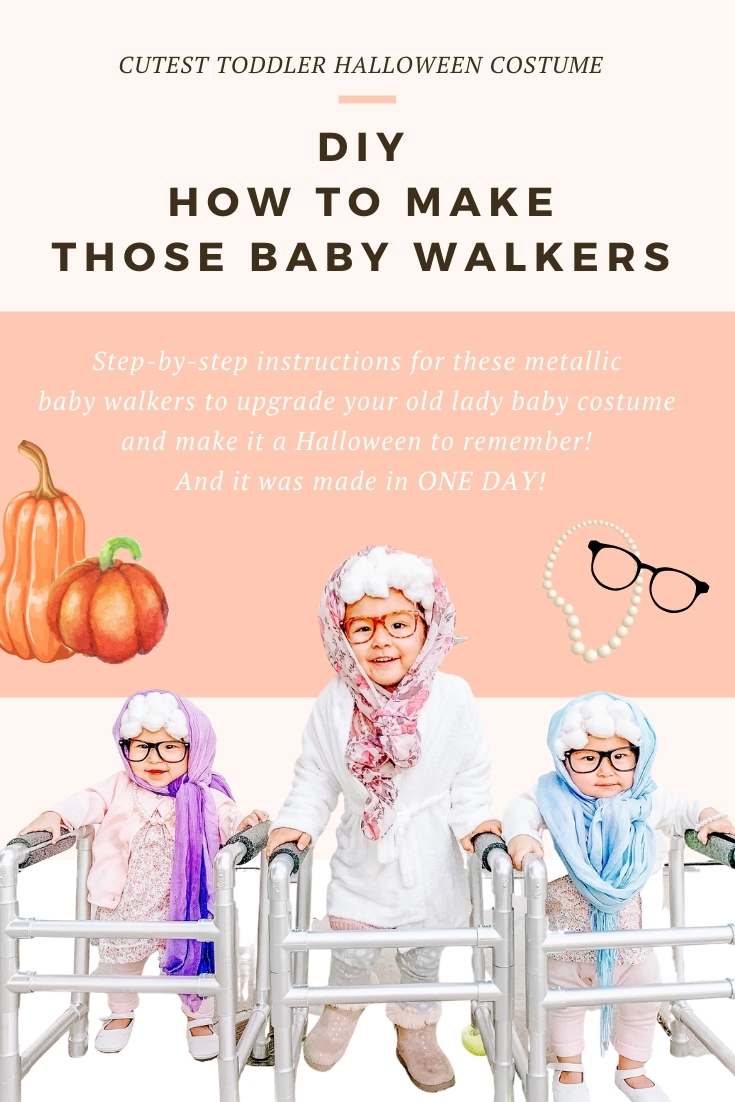
I’m not sure there’s anything cuter than babies dressed as little old ladies! We pulled these costumes together within a couple days of Halloween and were shocked that we were able to make all 3 walkers and wigs in just ONE DAY! So I’m sharing this easy step-by-step DIY on how to make your own old lady baby walkers and wigs this Halloween.
Now, I’m not one who ever thought I’d be the type of mom that could sew awesome baby costumes (after all, I’d have to know how to sew in order for that to be true), but putting all this together will probably go down as one of my proudest mom moments!
We couldn’t stop laughing all night and the Halloween costumes were such a huge hit that I wanted to share how we made the entire costume, head to toe!
Baby Walker Instructions
Adding this easy to make baby walker to your old lady baby costume or old lady toddler costume will definitely take it to the next level!
Baby Walker Supplies
- 1/2 in PVC Pipe (to be cut to dimensions below)
- (8) 1/2 in PVC Tees
- (4) 1/2 in 90 degree PVC elbows
- (4) 1/2 in pvc caps
- silver spray paint
- 1/2 in pipe insulation
- (2) tennis balls
- saw or pipe cutter
Baby Walker Step-by-Step
STEP 1: CUT PVC PIPE TO DESIRED DIMENSIONS
*We chose the dimensions of the walkers based on a height that would work for all 3 girls (15 months old and 3 years old). If you’re just doing it for a baby or young toddler, you can adjust and make the dimensions a couple inches shorter.
Total Dimensions: 18″ tall x 14″ wide x 12″ deep
You will need to cut the PVC pipe to create the following sizes so that they fit together to make the above dimensions once assembled.
-CUT LIST-
Front:
- (2) 12 in pieces – for the bars that go across the front
- (2) 2.75 in pieces – between the 90 degree elbows and tee joints
- (2) 2 in pieces – between the top tee joints
- (2) 4.5 in pieces – between the lower crossbar’s tee joint and the bottom tee joint
- (2) 2.5 in pieces – between the bottom tee joints and foot caps
Sides:
- (4) 10 in pieces
Back:
- (2) 12.25 in pieces
- (2) 2.5 in pieces – between the bottom tee joints and foot caps
STEP 2: ASSEMBLE PVC PIPES
Plug each piece into the elbows and tees as show in the photo and cap the bottoms. We chose not to glue the pieces together, as they fit really well together and we wanted to be able to take them apart again to store. But actually, its a really tight

STEP 3: SPRAY PAINT
Next, spray paint all the PCV pieces you just cut, along with the (4) PVC elbows, (8) PVC tees, and (2) PVC caps with the silver spray paint and set them to dry overnight.
STEP 4: ADD TENNIS BALLS
We sliced the 2 tennis balls with a cut at the top of each to allow the bottom of the walker to snuggly fit inside.
STEP 5: PLACE PADDING FOR HANDLES
We cut the PVC insulation pads to be ______ in long and just capped them right over the top side pipes to create handlebars and that’s it!
Baby Wig Instructions
Wig Supplies
- Hair colored wig cap
- Glue gun (we used a cheap one from the clearance section of our craft store, but I linked the one that seems to be extremely popular on Amazon for you- over 6,000 reviews!)
- Cotton balls (we used organic because I planned to re-use the cotton balls but you can use any jumbo cotton ball brand)
Wig Step-by-Step
STEP 1: PLAN OUT YOUR CAP
Place the wig cap on your baby and mark where you will need to place the cotton balls. This allows you to see where they will lay when stretched out to fit on his/her head.
STEP 2: GLUE COTTON BALLS ON STRATEGICALLY
A few quick tips on glueing the cotton balls:
- I didn’t glue cotton balls on the whole cap because we planned to place scarves over their “hair” to complete our old lady look.
- You will need to stretch the cap slightly when placing the cotton balls to be sure they are sitting snuggly next to each other. Remember, once you put the cap back on your baby, the nylon will stretch and you don’t want gaps between the cotton balls!
- Safety disclaimer: do not glue the cotton balls on the cap while your baby is wearing it… obviously! 😉
I ended up forming rows of cotton balls kind of in the shape of a cone with the widest part being the front of the face and then fading up to just beyond the top of the head. Otherwise, the wig was too wide and didn’t look right with the scarves. I did a row of 5, then a row of 6 or 7, then 5, then 4, then 3 until it hit around the top back of the head. You’ll adjust this based on your own baby’s head shape.

Final Touches
To finish off the look, I added the following:
- Some old scarves I had lying around
- Baby shoes (we already had these and they worked perfectly for the old lady look)
- Our 3 year old wore a bath robe we had gotten her a few months prior, but here’s one of the cheaper but highly rated bath robes on Amazon.
- For the babies’ outfits, we had these Ralph Lauren floral dress sets that came with the leggings and cardigans, so that worked perfectly for us. I also found these linked dresses and cardigans that will work for this costume and are easy on the wallet. If those don’t work, Carter’s always has these kinds of cardigan sets.
- Toddler glasses (no lenses) we got this multipack because we needed 3 sets of glasses for our girls. We ended up just coloring one of the glasses’ side pieces with a black sharpie to make it all black.
- Fake pearls (The girls LOVE these and still like to play dress up with them) for the final touch!

These old lady baby costumes were such a hit!
I don’t know if we will ever beat this Halloween, but I sure am glad we pulled this off! They were the hit of the neighborhood and they were even featured in a Huffington Post Parents article! The girls also thought they looked hilarious and we will remember the sweet giggles of this Halloween forever.
Please tag us on Instagram @themushies and leave your handle below if you recreate the look! We would love to see your little old ladies (or men)!
For a quick run down of the walker assembly, I included a video below.

Welcome to my blog! I'm so thankful and excited that you're here.I'm a mama to twins and a toddler, a professional photographer, a sneaky veggie cooker, and a new-to-homeschool attempter. I love teaching other mamas how to get better photos of their littles and sharing my fave mama resources here!
CONNECT WITH ME
FOLLOW US ON INSTAGRAM
The Mushy Mama Presets
DIY Baby Costume: Lil’ Old Ladies

BROWSE
Photo tips & Tricks
TODDLER FUN
the blog
HOMESCHOOLING
Toddler/HEALTHY RECIPES
MOTHERHOOD MOMENTS
Welcome to my blog! I'm so thankful & excited that you're here. I'm a mama to twins + a toddler, a professional photographer, a sneaky veggie cooker, & a new-to-homeschool attempter. I love teaching other mamas how to get better photos of their littles & sharing my fave mama resources here!
